Photos From An Italian Garden in America, Part II
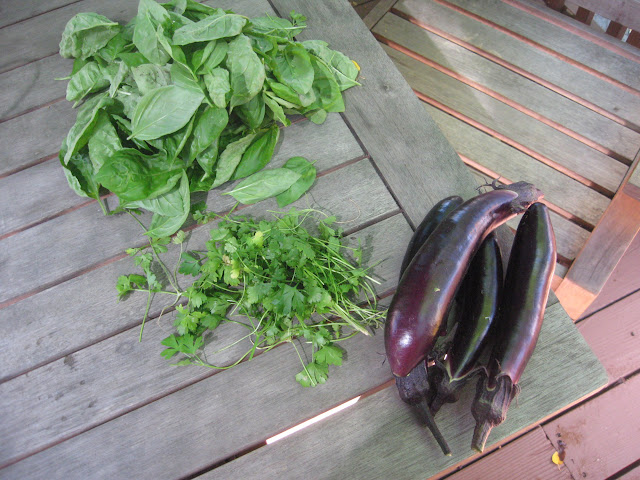
(photo: basil, parsley, and Japanese eggplant from our Italian garden in New Jersey) Back in August of last year we posted some photos of our Italian American garden and we thought we’d share an updated series of photos from our current garden. We recently harvested Japanese eggplant, flat green beans, basil, parsley, arugula, and chili peppers. With the basil […]
Read more ›